My Python version has been stuck at 3.7 for a while, but now the latest version is already at 3.9. Recently, I needed to study a piece of Python code written by someone else, who specifically requested Python version 3.6. So, I uninstalled the 3.7 version and reinstalled both Python versions 3.9 and 3.6.
I’ve been trying to encourage my parents to learn programming for a long time, and I owe them a tutorial. Whether it’s for those who are committed to continuous improvement in their first programming language or for those who intend to dabble lightly in programming, Python is an excellent choice. So, even though my parents have no interest in programming whatsoever, I still completed this tutorial, hoping it could help others. Since it’s aimed at complete beginners, it’s based on the Windows 10 operating system. And because I also use this setup myself, based on personal preference, I didn’t directly use conda.
Table of Content
- python
- Download
pythoninterpreter from the official website - Install
pythoninterpreter
- Download
- Virtual Environment
- Set environment variable
- Install
virtualenvwithpip - Install
virtualenvwrapperwithpip - Create a virtual env, and install
jupyter
- Editor/IDE
- Download
vscodefrom official website - Install
vscodeand related plugins - Verify it works
- Download
Let’s go
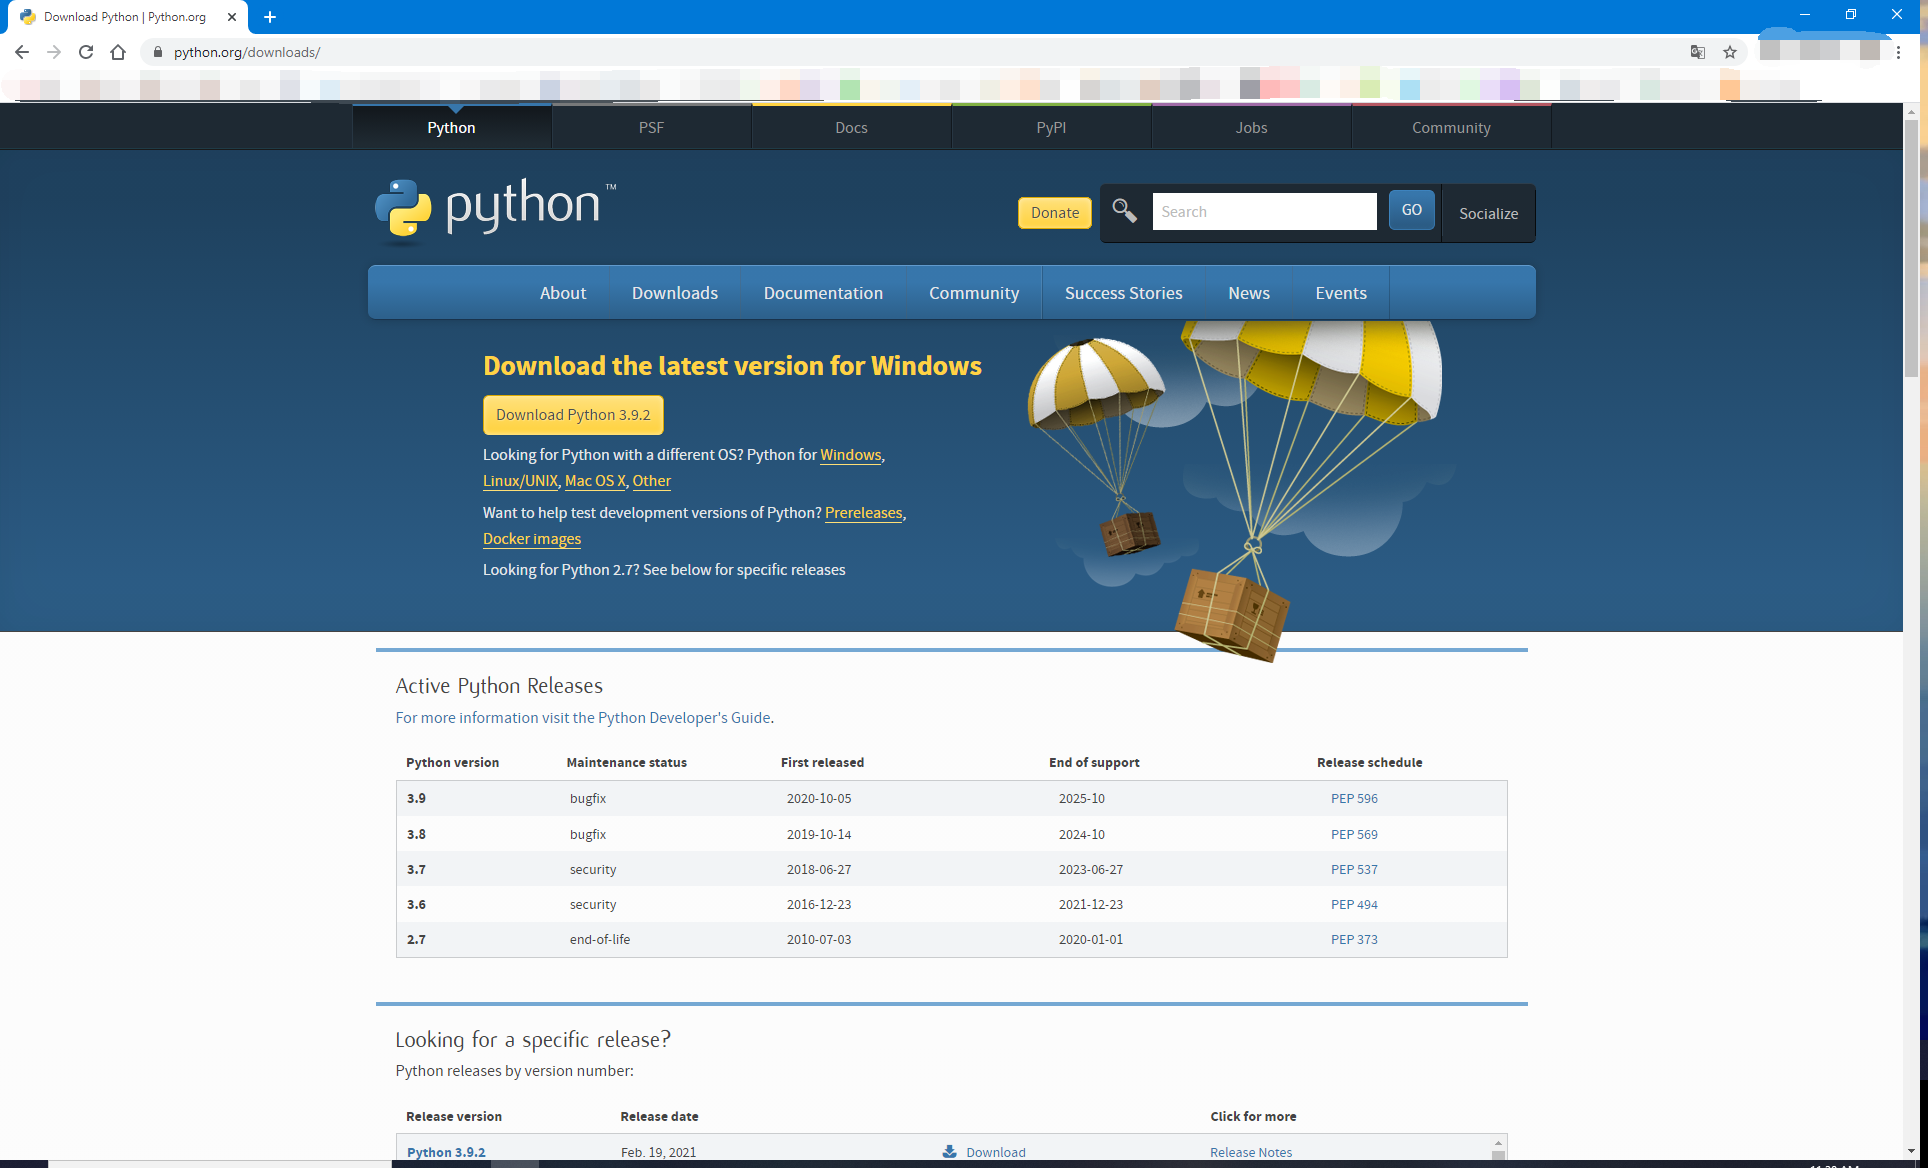
Download python interpreter from the official website
Download from the official website of Python (https://www.python.org/downloads/).
Install python interpreter
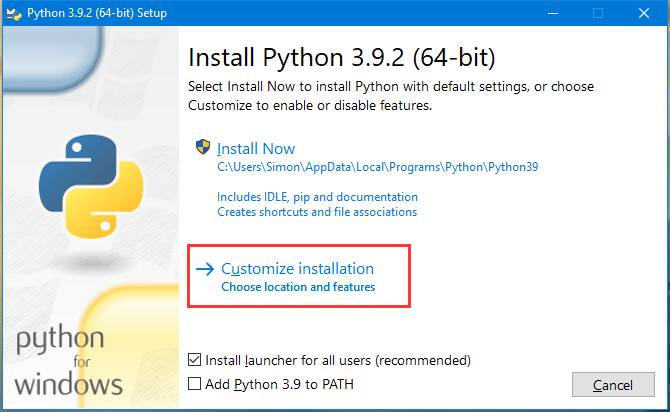
After executing the downloaded file, you’ll see the interface as shown in the screenshot below. Click on the option highlighted in red box because I want to change the installation path. It seems that you can also check the “Add Python 3.9 to PATH” at the bottom. I didn’t select it during installation, but later I found out that this step needs to be done manually.
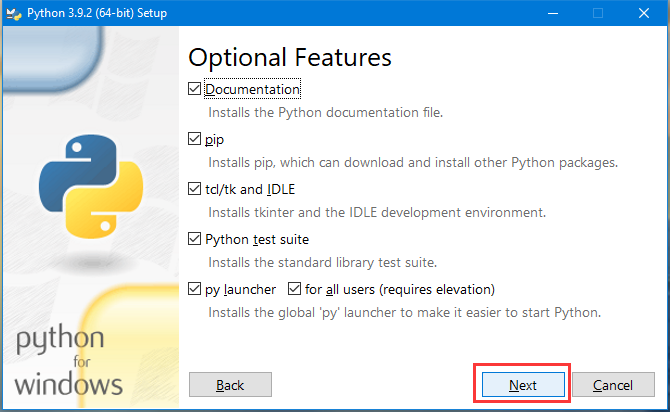
Following that, check each option in the next interface, then click “Next”.
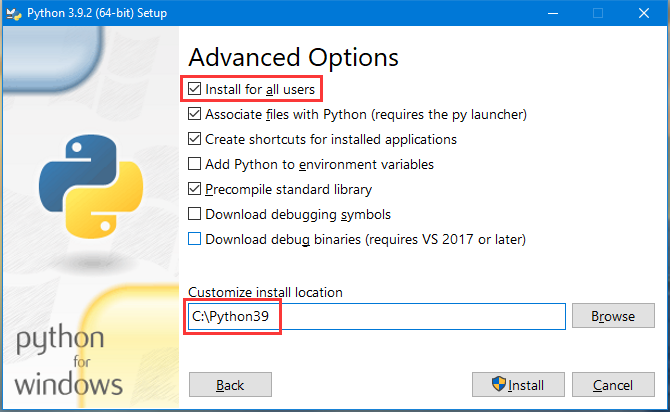
In the upcoming interface, select “Install for all users” and then choose an installation path you prefer. The reason I choose C:\Python39 for this location is because:
- The C drive is the system drive and it’s a solid-state drive on my machine, which is faster.
- The default path is in the personal folder, which is quite hard to find.
C:\Program Filesrequires administrator permissions, which is inconvenient for using pip for package management.
After the installation is complete, open the command prompt and type py. You should see a string of Python version information, and then the command prompt will change to >>>, indicating that you have entered the Python environment, where you can execute Python commands line by line. Type exit() to exit Python.
Set environment variable
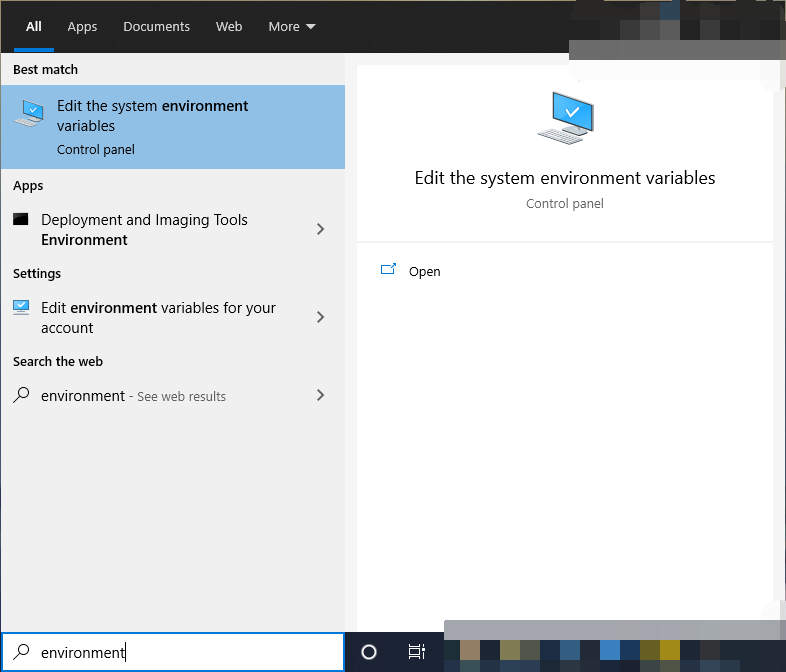
In the Windows search bar, type “environment variables,” and before you finish typing, you should see the suggested result as shown in the image below:
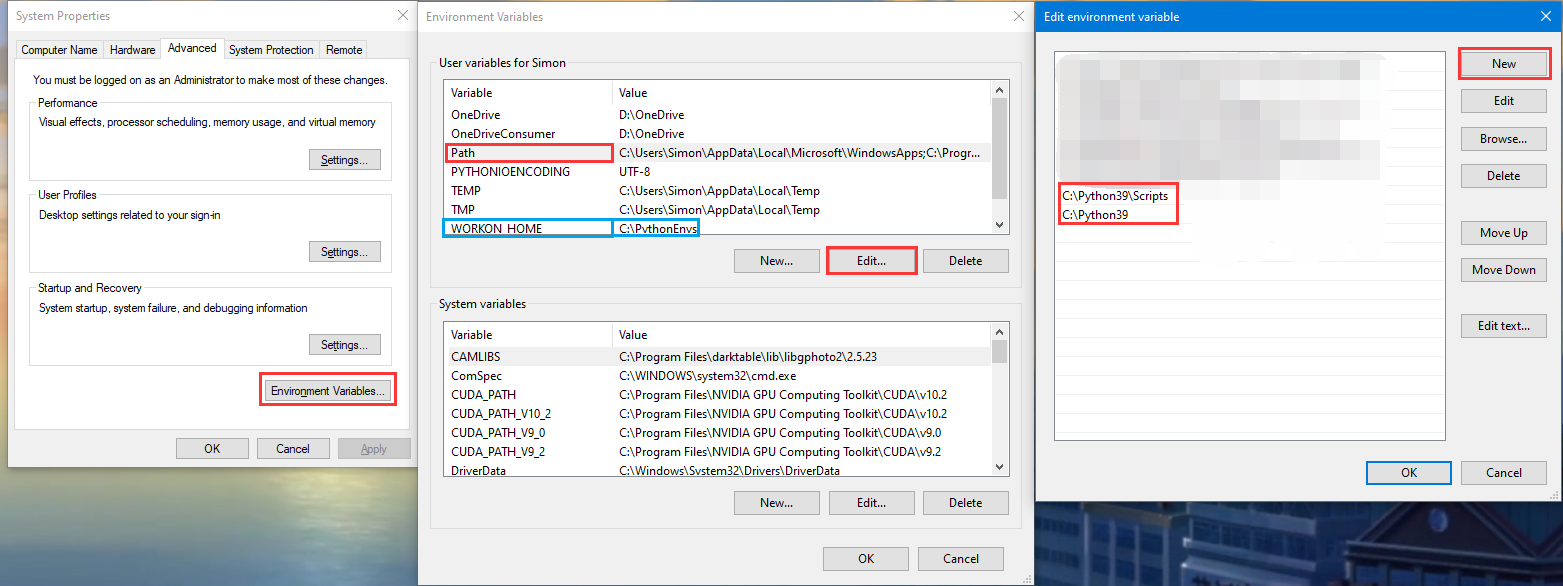
Then, follow the steps in the image below to complete two tasks:
- Add two new values,
C:\Python39andC:\Python39\Scripts, to thePathvariable. - Create a new folder for storing Python virtual environments (such as
C:\PythonEnvs). Create a new variable namedWORKON_HOMEand set its value toC:\PythonEnvs.
Install virtualenv and virtualenvwrapper with pip
Following the steps just now, pip should now be installed. You should see similar feedback in the command line after entering the commands along the way:
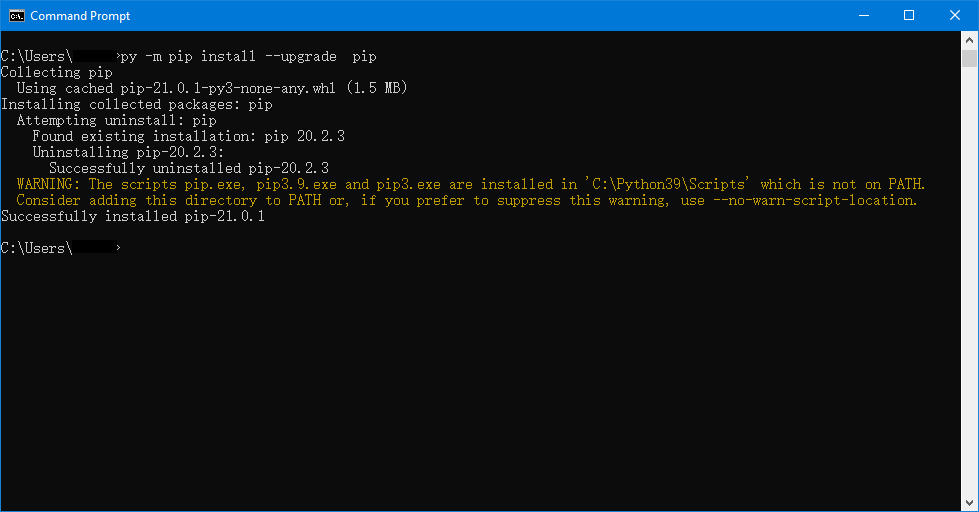
If the command line indicates that pip is not found, you may need to reinstall it using the method outlined in this link.
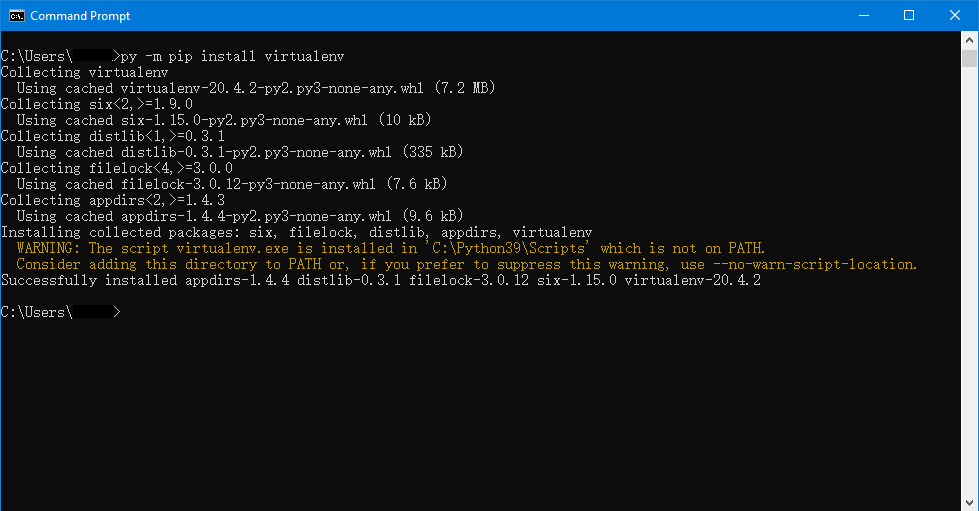
Type py -m pip install virtualenv in the command line to install the virtual environment manager:
After a successful installation message appears, type py -m pip install virtualenvwrapper-win in the command line. The result should be similar to the image above; I forgot to take a screenshot.
Create a virtual env, and install jupyter
After installing virtualenv and virtualenvwrapper, enter mkvirtualenv base in the command line to create a new virtual environment named base.
Then enter workon base. At this point, you should see (base) at the beginning of the command prompt, indicating that we are now working within the base virtual environment. Now, when you check pip --version, you’ll notice that the Python location has changed from before.
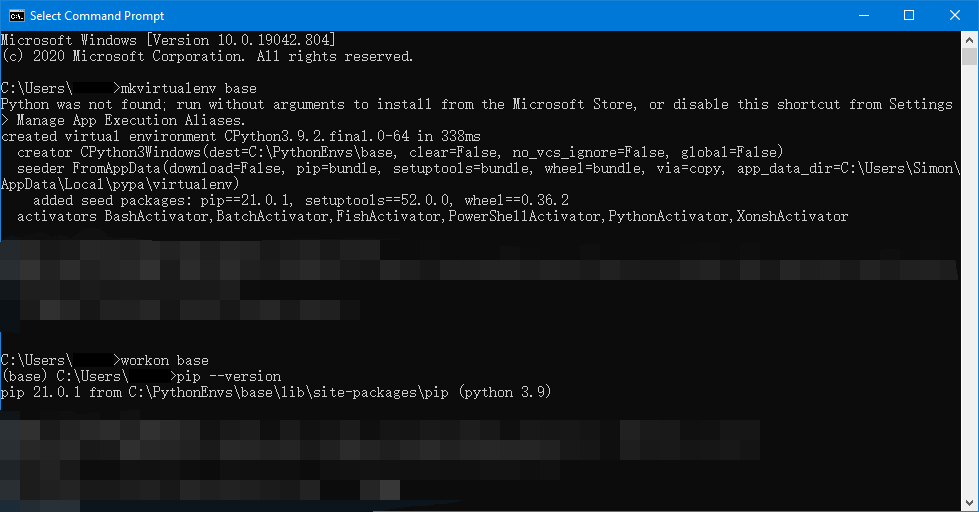
Within this environment, install Jupyter by typing pip install jupyter. While this step is not mandatory, it allows us to have a similar experience to Spyder, which comes with Conda, once we install VSCode. This makes it very convenient for beginners to debug line by line.
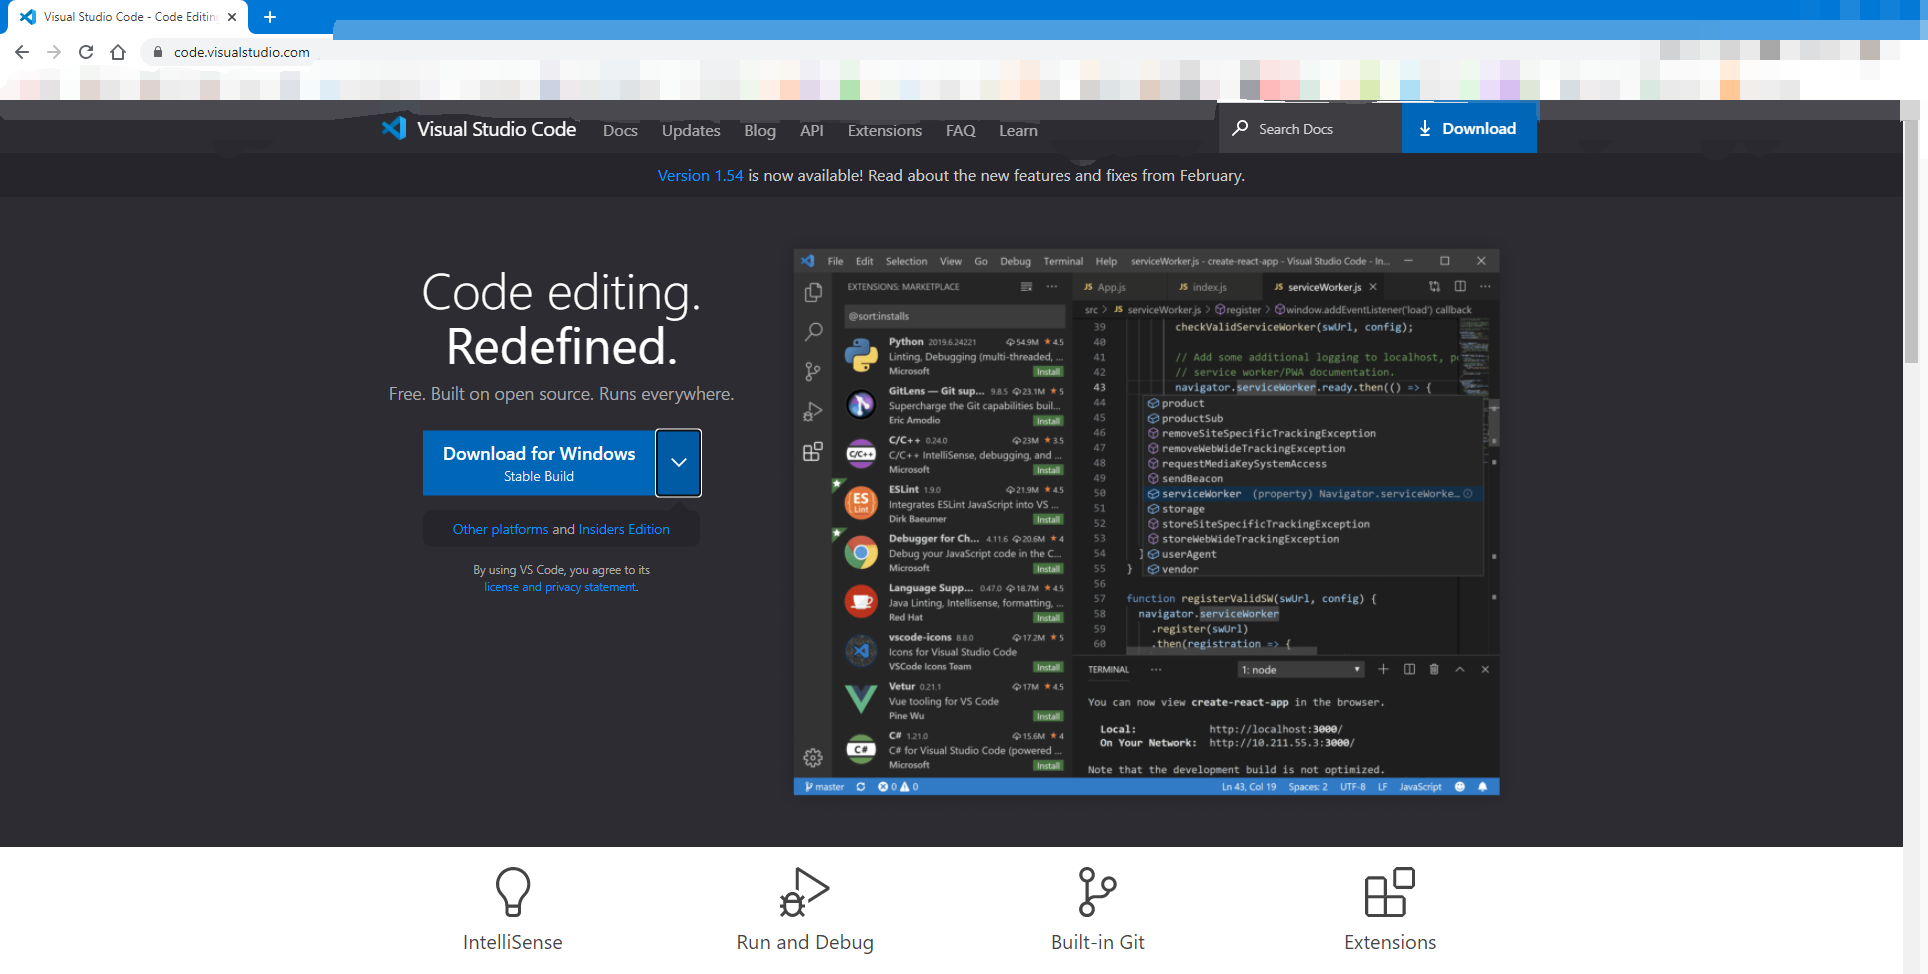
Download and install vscode
Download the installation package from the official website of VS Code (link here), where you’ll find a prominent download button:
After downloading, the installation process is similar to that of any other program (it’s been a while, so no screenshots).
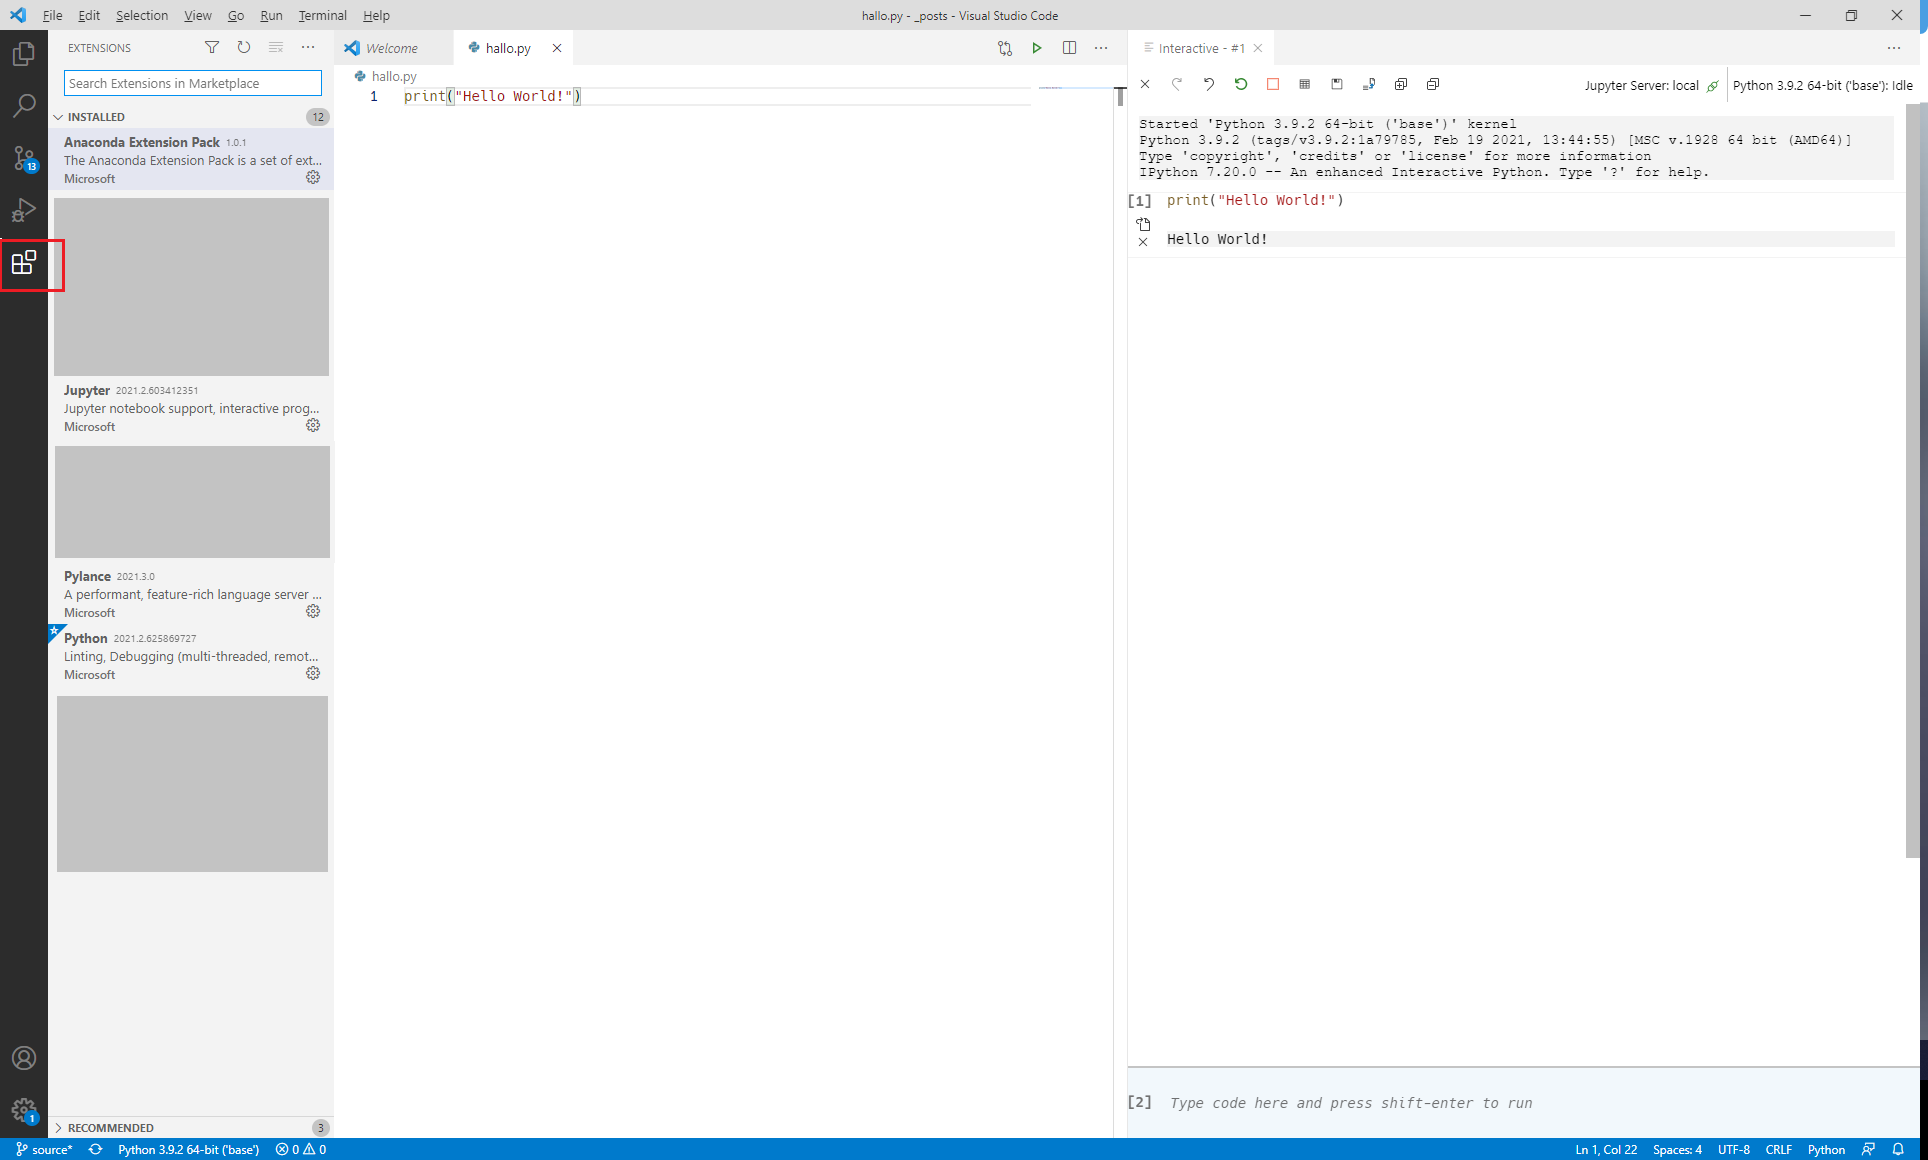
Once installed, open the program and click on the icon outlined in red on the left toolbar, then search for Python-related VS Code plugins. For Python development, you generally need python, pylance, and jupyter:
In the future, when you want to run VS Code, right-click in the folder where you want to start coding and select “Open with Code”:

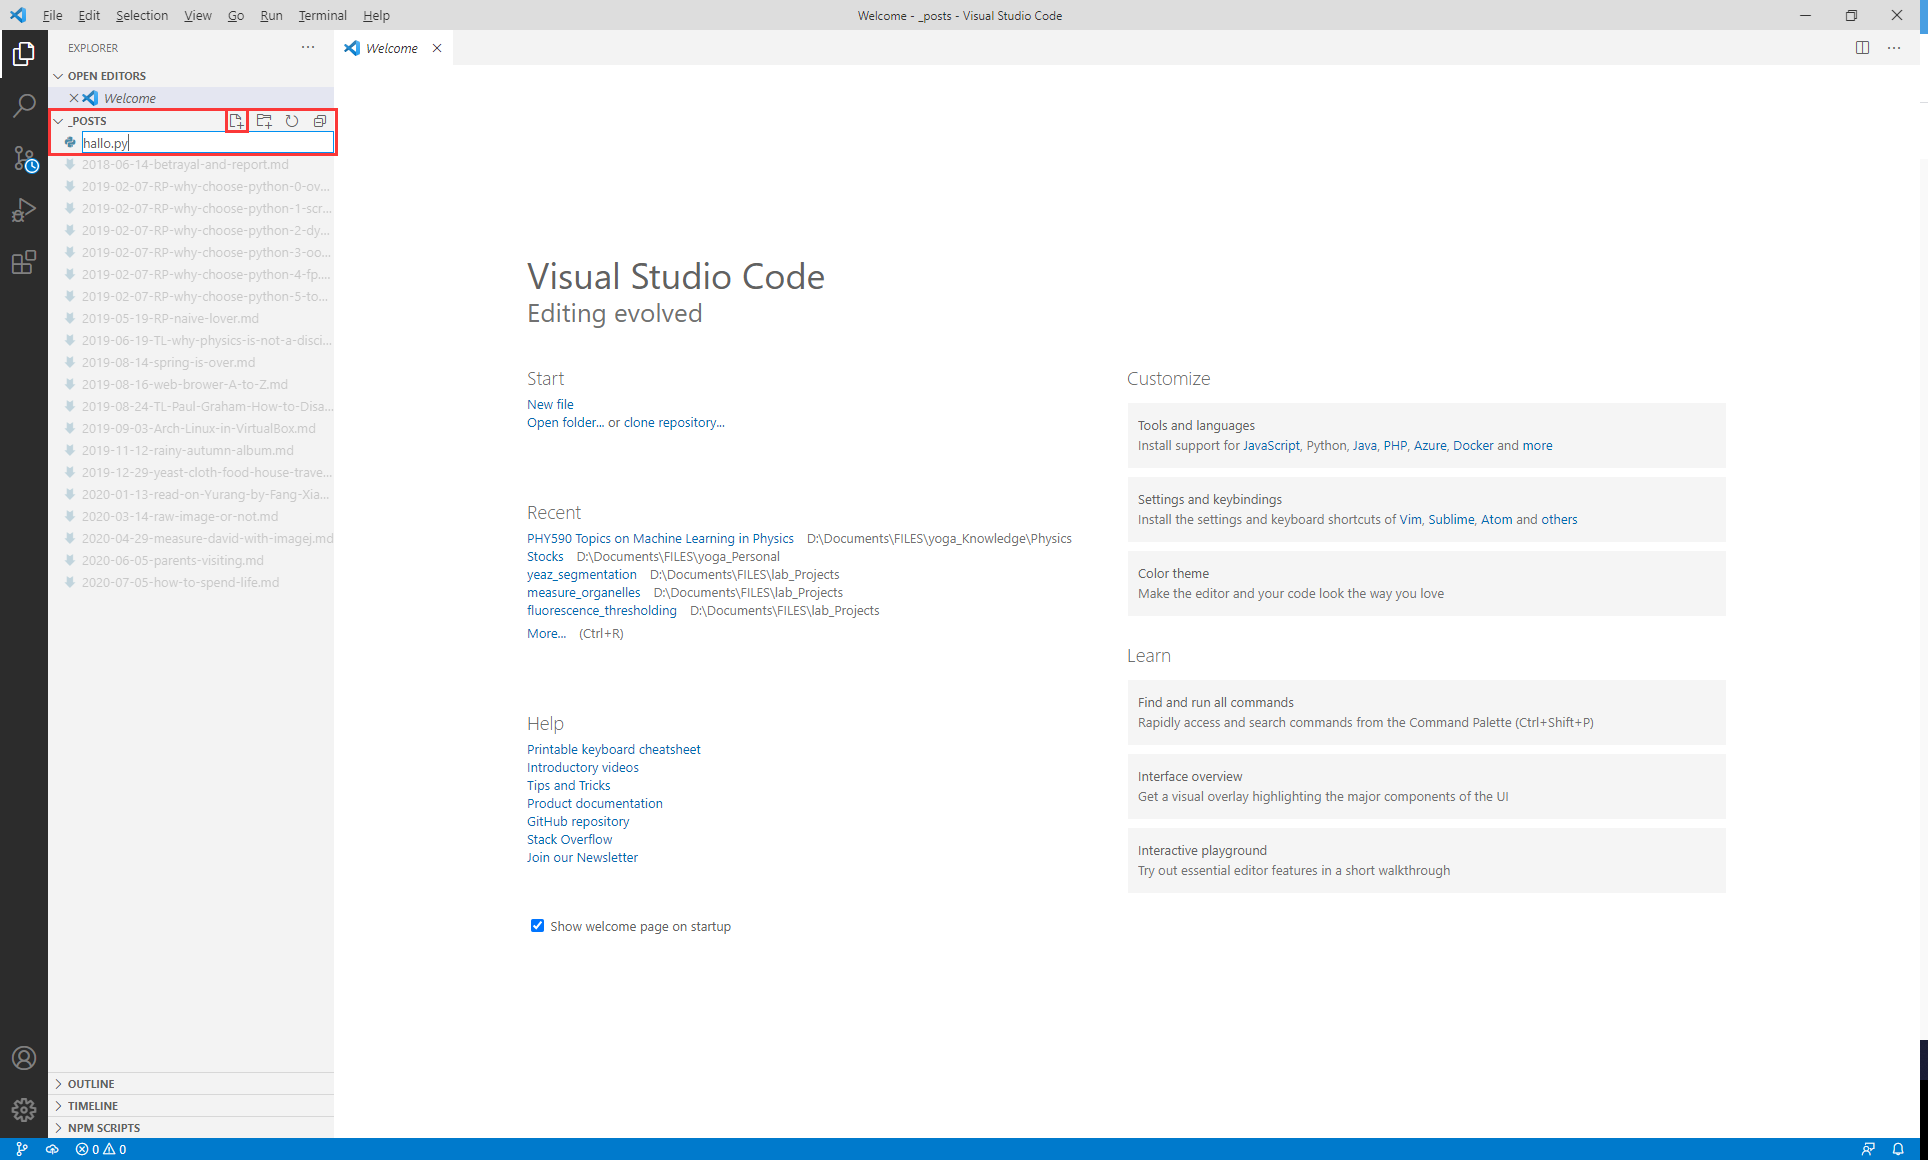
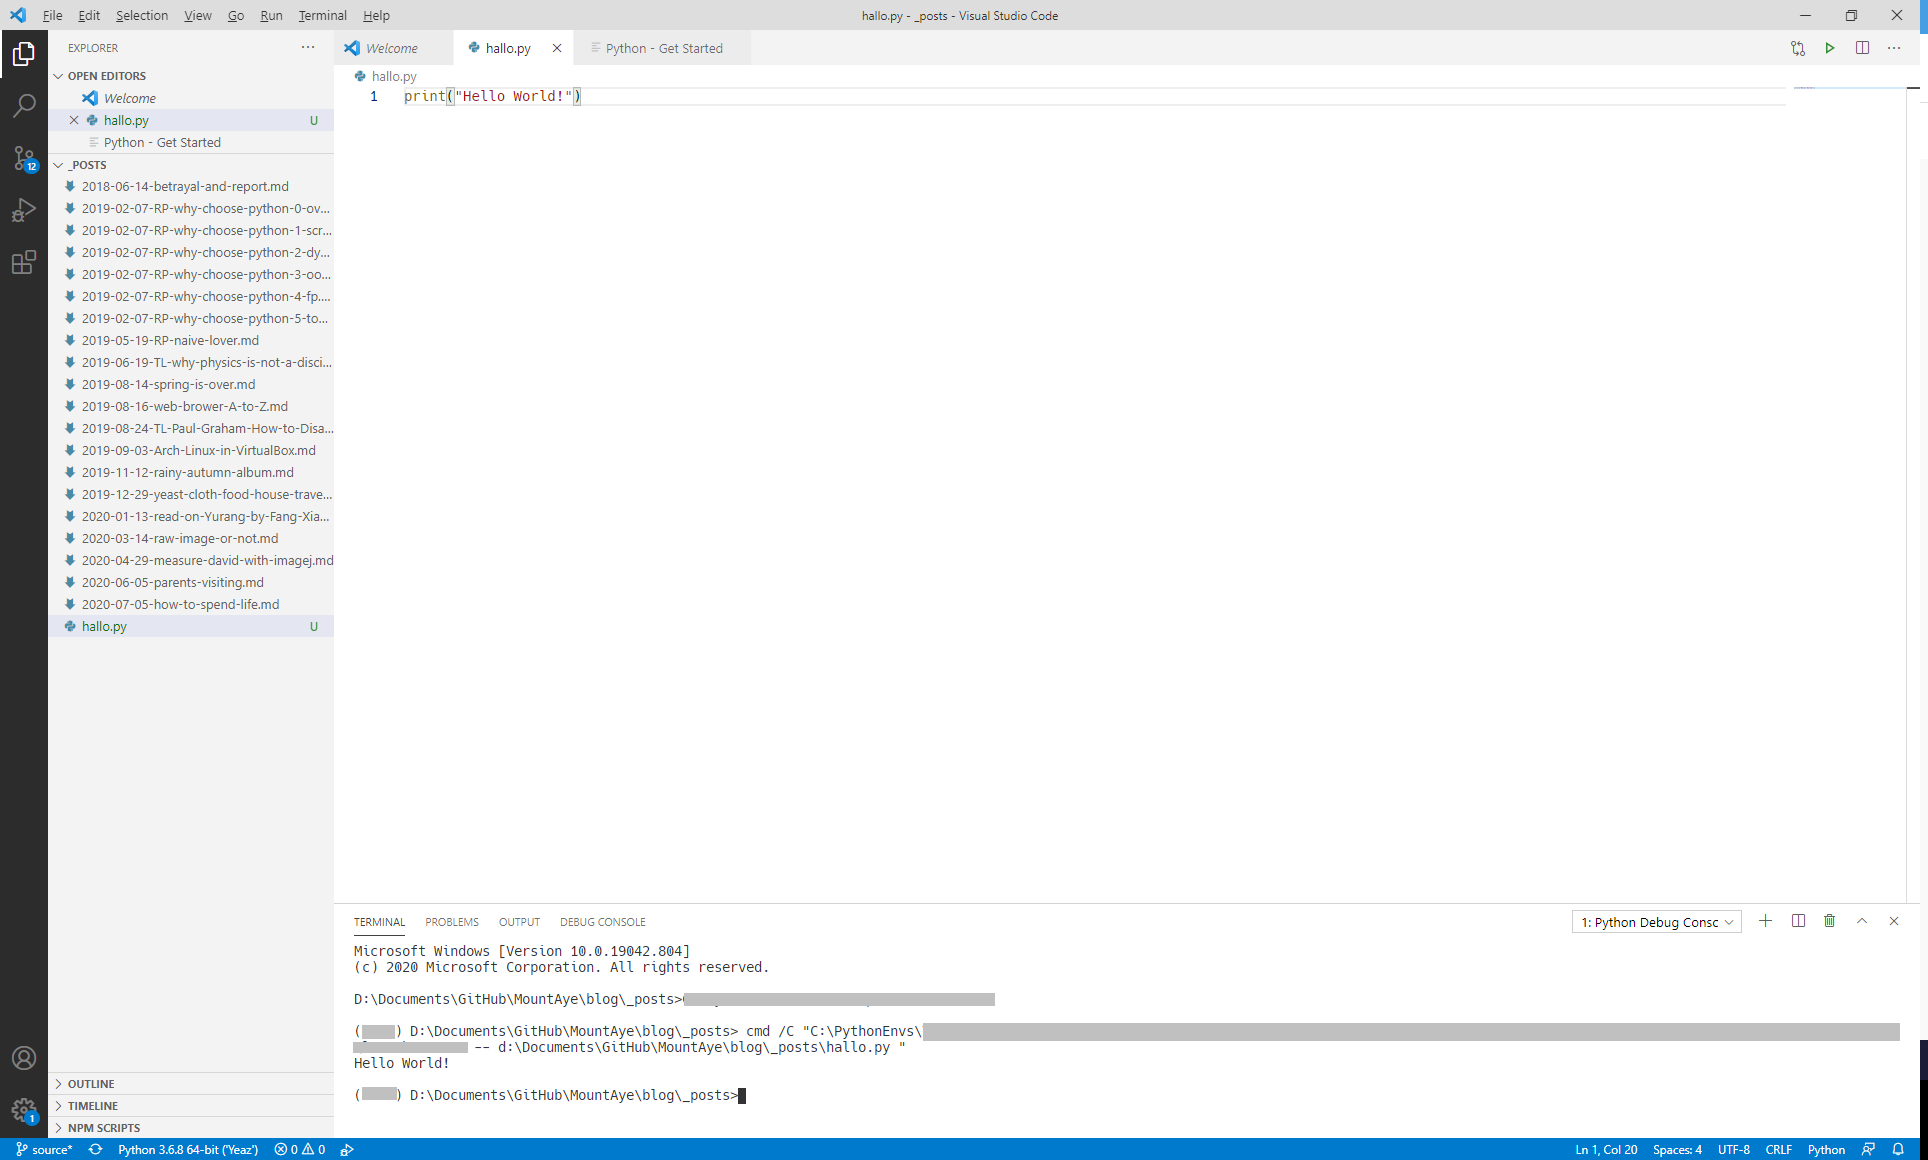
Next, in the VS Code interface, click on the button outlined in red in the file tree to create a new file, name it *.py, and here I just wrote something like “hello.”
In the subsequently opened document editing area, type print("Hello World"), place the cursor on this line, and press Shift+Enter to execute this line:
As it’s the first time executing and since jupyter is installed, you should see a prompt in the bottom right corner of VS Code asking if you want to execute the code using the Jupyter interactive window. Then close the terminal below (the cross in the top right corner of the bottom half). Press Shift+Enter again to execute. At this point, the result should look like the image below. Click on the variable explorer in the red circle, and it’s almost the same experience as Spyder.
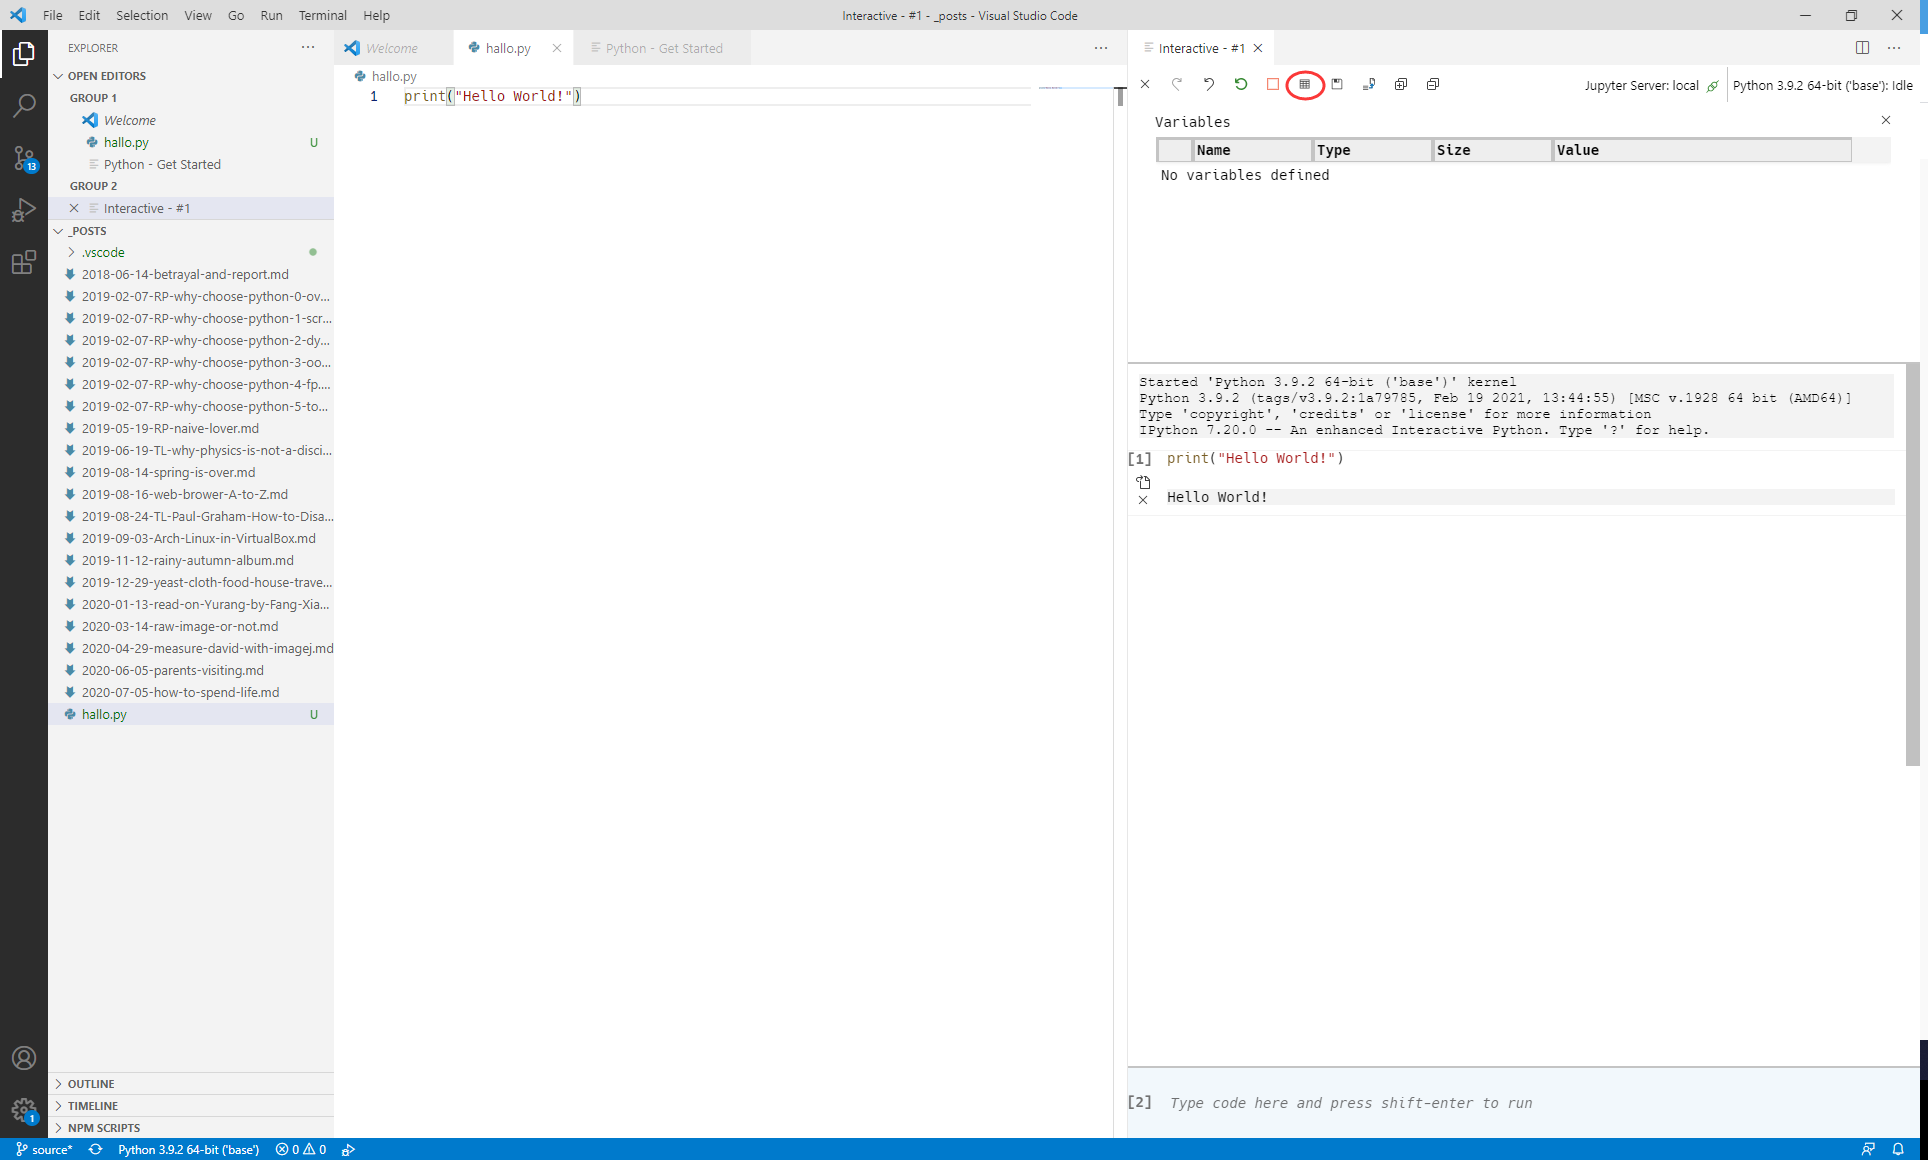
In the future, the Jupyter Interactive Window could be called up by typing Ctrl + Shift + P and searching “interactive” in the command line that appears on top of the screen.